
Enterprise badges apply to all users across all your systems. For enterprise badge printing, you can create up to 20 badge templates.
Refer to the following information:
Create a Badge Template
To create a badge template, complete the steps below:
-
Log in to VirtualKeypad.com.
-
Select Admin to enter Virtual Keypad Admin.
-
In the menu, go to Badges.
-
Select the

-
Enter the Template Name.

-
Go to Layout, and configure the following options:
-
In Orientation, select Vertical or Horizontal.
-
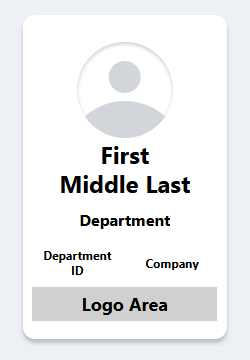
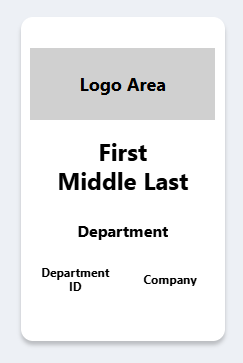
In Layout, choose the option with an image and a logo at the bottom of the badge, or the option without an image and the logo at the top of the badge.
-
-
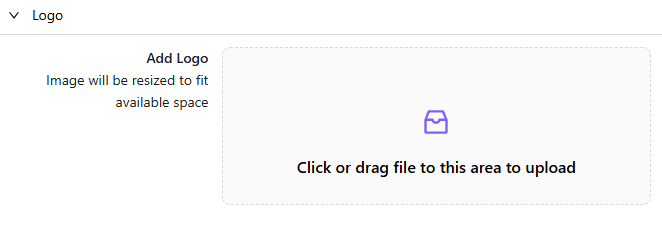
Go to Logo, then click or drag a file to the upload area to add a logo to display on the badge.
-
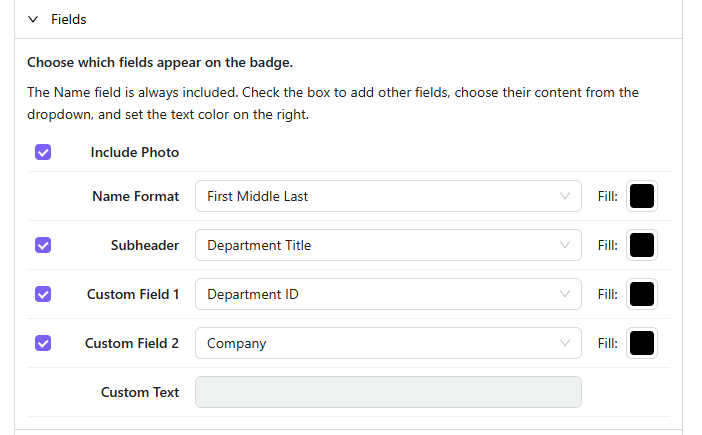
Go to Fields, and configure the options below:
-
If you selected the badge layout with an image, keep the Include Photo checkbox selected to display the user’s photo on the badge. Clear the checkbox to remove the photo.
-
In Name Format, select one of the following options:
-
First Middle Last (default)
-
First & Last Name
-
First Name
-
-
In Subheader, keep the checkbox selected to display a subheader on the badge. Clear the checkbox to remove the subheader. Select one of the following options:
-
User ID
-
User Title
-
Phone Number
-
Email
-
Department ID
-
Department Title (default)
-
Company
-
Custom Text
-
-
In Custom Field 1, keep the checkbox selected to display a custom field on the badge. Clear the checkbox to remove the custom field. Select one of the following options:
-
User ID
-
User Title
-
Phone Number
-
Email
-
Department ID (default)
-
Department Title
-
Company
-
Custom Text
-
-
In Custom Field 2, keep the checkbox selected to display a custom field on the badge. Clear the checkbox to remove the custom field. Select one of the following options:
-
User ID
-
User Title
-
Phone Number
-
Email
-
Department ID
-
Department Title
-
Company (default)
-
Custom Text
-
-
For each field, you can choose a color fill for the text. Select the box next to Fill to choose a text color.
-
If you selected Custom Text, enter the Custom Text in the field.
-
-
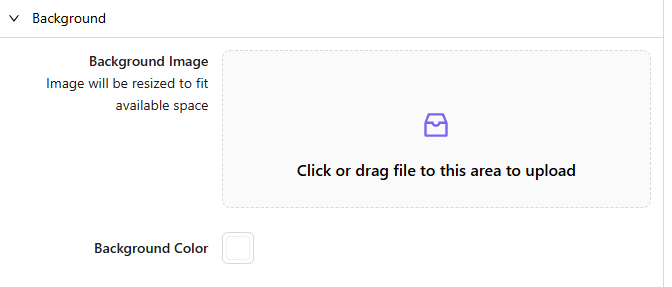
Go to Background, then click or drag a file to the upload area to add a background image, or select a Background Color.
-
Select Save at the top of the screen. The template appears in the Badges list.
Print Badges
To print badges, complete the steps below:
-
Log in to VirtualKeypad.com.
-
Select Admin to enter Virtual Keypad Admin.
-
In the menu, go to Users.
-
Click Select.
-
Select the checkbox next to each user’s name you want to print the badge for.
-
Select Print Badges at the top of the screen. You are brought to the Print Badge page.
-
In Select Template, choose the template you want to print for the selected users.
-
In Add Users, you can add additional users you want to print the badge for. View the preview on the right side of the screen to ensure the badge appears as intended.


-
Select Print at the top of the page.
-
Configure your print options, then select Print.
More Information
Edit a Badge Template
To edit a badge template, complete the steps below:
-
Log in to VirtualKeypad.com and enter your User Code.
-
Select Admin to enter Virtual Keypad Admin.
-
In the menu, go to Badges.
-
Select the badge template you want to edit.
-
Make changes as needed, then select Save at the top of the screen.
Delete a Badge Template
To delete a badge template, complete the steps below:
-
Log in to VirtualKeypad.com and enter your User Code.
-
Select Admin to enter Virtual Keypad Admin.
-
In the menu, go to Badges.
-
Select the the
