
In Users, you can add, edit, and delete users. Users is only visible in Virtual Keypad if you are authorized to manage user codes on your system.
Add a User
-
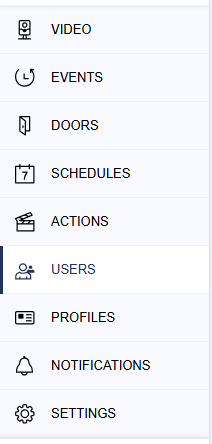
Go to Users.
-
Select the

-
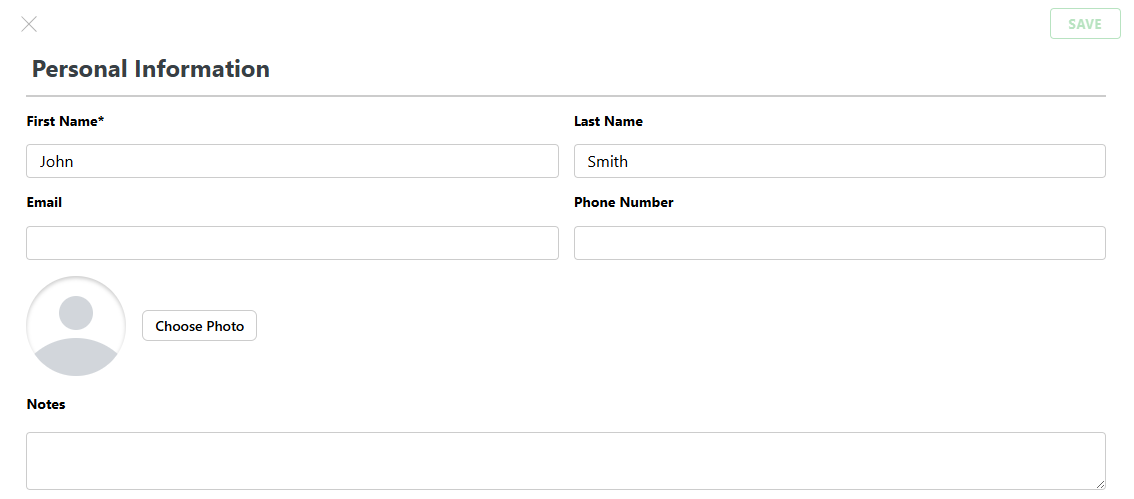
Enter the user’s First Name and Last Name.
-
Enter the user’s Email and Phone Number.
-
Select Choose Photo and upload a photo.
-
If needed, enter any Notes about the user.
-
Select the user’s authority level, select +Add Profiles to add profiles to the user, or select +Add Groups to add groups to the user.
-
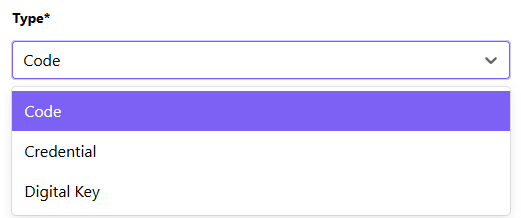
Choose a Type:
-
Code—A set of numbers that a user enters at a keypad to access doors and Virtual Keypad, arm and disarm the system, and enter the user menu on a keypad.
-
Credential—A device (such as a key fob, card, or phone) that a user presents at a reader to access doors.
-
Digital Key—A credential on mobile device that grants access to doors with compatible NFC multi-technology readers.
-
-
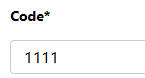
If you selected Code, enter a 4-digit code to assign to the user.
-
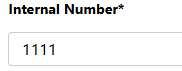
If you selected Credential, enter the internal number and the external number:
-
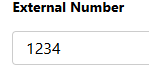
External Number—The number that is printed on the outside of the card. The external number is used to keep track of who the card is assigned to and doesn’t determine access. The external number is the first set of numbers (typically before a colon or dash) written on the sheet provided with the credential.
-
Internal Number—The number stored inside a card that is transmitted to a reader when it’s scanned and determines access. The internal number is the second number (typically after a colon or dash) written on the sheet provided with the credential.
-
-
If you selected Digital Key, select how you want the Digital Key delivered to the user:
-
Select Text to send the Digital Key credential to the user’s phone number.
-
Select Email to send the Digital Key credential to the user’s email address.
-
Note: If an email address or phone number was already entered during the user creation process or already exists, it automatically populates in the corresponding text or email field.

-
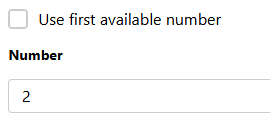
Select Use first available number or enter a number to assign to the user. This number identifies a user to the system and monitoring center.
-
Select Send code to locks. This enables the user to use the code to control Z-Wave deadbolts.

-
Verify that Active is turned on. An inactive user’s code or credentials do not work.

-
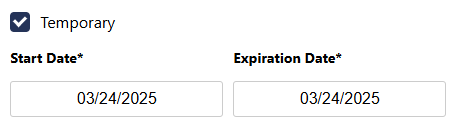
If you want the user code to be temporary, select Temporary and enter a Start Date and Expiration Date.
-
In Virtual Keypad App Access, enter the user’s email to provide the user with access to Virtual Keypad. This sends the user an email with prompts to sign up for Virtual Keypad.
Note: Access to Virtual Keypad is not required for users to bind a Digital Key to their devices.
-
Select Save at the top of the screen.

To edit a user, select the user you want to edit, make changes, then select Save.
To delete a user, select the user you want to delete, select Delete, then select Confirm.
Authority Level
Authority level’s determine a user’s permissions.
Authority Level Types
-
Master: The highest authority level. The user is granted all system permissions.
-
Standard: The user is granted all system permissions except administrative permissions.
-
Limited: The user is granted all system permissions except administrative permissions and they cannot bypass zones.
-
Scheduled: The user is granted basic system permissions that don’t include administrative or maintenance permissions.
-
Arm Only: The user can only arm the system.
-
Access Only: The user is only granted temporary door access and cannot lock and unlock doors. The following features are hidden from the user:
-
Events
-
Video
-
Video Doorbell
-
Video Actions
-
Rules (X1 only)
-
Lockdown
-
Push Notifications
-
-
Temporary: The user code expires at the date and time you specify. Codes set up with Virtual Keypad and Dealer Admin can stay active for up to 7 days, then will automatically expire. Codes active for more than 7 days can be set up only with the keypad. Any authority level except master can be defined as a temporary code.
Authority Level Permissions
|
Permission |
Master |
Standard |
Limited |
Scheduled |
Arm Only |
Access Only |
|---|---|---|---|---|---|---|
|
Arm—Arm the system |
|
|
|
|
|
|
|
Disarm—Disarm the system |
|
|
|
|
|
|
|
Door Access—Grant temporary door access |
|
|
|
|
|
|
|
Alarm Silence—Silence a system alarm |
|
|
|
|
|
|
|
User Check-In—The system checks in to determine if the user is on the premise. |
|
|
|
|
|
|
|
Zone Activity Check—Monitor a zone for non-activity.* |
|
|
|
|
|
|
|
Sensor Reset—Reset all system sensors.* |
|
|
|
|
|
|
|
Display Events—View system events. |
|
|
|
|
|
|
|
Zone Monitor—Enable the chime function. |
|
|
|
|
|
|
|
Outputs On/Off—Turn outputs on or off. |
|
|
|
|
|
|
|
System Test—Initiate a system test from the user menu. |
|
|
|
|
|
|
|
Favorites Setup—Configure favorites for the system. |
|
|
|
|
|
|
|
Bypass Zones—Bypass zones when arming the system. |
|
|
|
|
|
|
|
Z-Wave Setup—Add, edit, and delete Z-Wave devices. |
|
|
|
|
|
|
|
Wi-Fi Setup—View the system’s Wi-Fi settings, connect to available Wi-Fi networks, and use WPS association. |
|
|
|
|
|
|
|
User Codes—Add, change, and delete user codes. |
|
|
|
|
|
|
|
Schedules—Add, edit, and delete schedules. |
|
|
|
|
|
|
|
Extend—Extend a schedule for 2, 4, 6, or 8 hours. |
|
|
|
|
|
|
|
Set Time—Change the system date and time from the user menu. |
|
|
|
|
|
|
|
Service Request—Request a service call from your security provider. |
|
|
|
|
|
|
*Zone Activity Check—Monitor a zone for non-activity. This could be used for a person living alone to detect when they have not moved about to trip a disarmed zone within a programmed period of time. This feature is optional. The Zone Activity Check is disabled when a schedule is entered to allow for sleeping hours and is automatically enabled when an area is disarmed.
*Sensor Reset—Reset all system sensors. After a lockdown is ended, a sensor reset is required for all smoke detectors, flood sensors, and temperature sensors that have triggered an alarm, as well as system restoral. A sensor reset is also required to clear a low battery (LOBAT) message after changing a wireless device’s batteries.
Card Plus Pin
Card Plus Pin requires a user to present their credentials to a reader, then enter a pin or a second credential. This provides added security for restricted areas. Card Plus Pin is only available on systems with profiles.
To add Card Plus Pin to a user:
-
Go to Profiles.
-
Select the Profile that the user is assigned to.
-
Enable Card Plus Pin in Profile Options.
-
Select Save.
-
Go to Users.
-
Select the user that you want to use Card Plus Pin.
-
Select Add Profile in Profiles and choose the profile with Card Plus Pin enabled.
-
Enter a pin.
-
Select Save.
Bulk Import Users (CSV Import)
CSV Import enables you to bulk import users with a CSV template.
-
Go to Users.
-
Select CSV Import.
-
Select Download the CSV Template, then open the template.
-
Enter the user information in each column:
-
Name—Enter the user’s first and last name.
-
Code—For a standard user code, enter the user’s code. For a credential, enter the Internal Number. The Internal Number is the number inside that’s transmitted to a reader when it’s scanned, not the number printed on the outside. The internal number is the second number (typically after a colon or dash) written on the sheet provided with the credential.
-
Profile (available only on some systems)—Enter the number of the profile to assign the profile to the user. Add up to four profiles to one user by entering one number per profile column. To find the profile numbers, go to Profiles and select each profile. To view information on your system’s profiles in one location, export an All Systems Report in Quick Reports.
-
Level—Enter the user’s Authority Level.
-
External (optional)—If the user has a credential, enter the number printed on the outside of the user’s credential. Otherwise, leave this field blank.
-
Areas—Enter the area numbers that you want the user to have permission to arm or disarm, separated by a comma.
-
Pin (available only on some systems with Card Plus Pin enabled)—Enter the user’s pin for Card Plus Pin.
-
-
Save and close the template.
-
Press Select CSV File on the CVS Import page in Users.
-
Choose your saved template, then select Upload.
Two-Factor Authentication
This option allows new users to set up Two-Factor Authentication to input their password and enter a one-time passcode received via email or text to log in to Virtual Keypad.
Users can enable Two-Factor Authentication for their own account by selecting Configure next to Two-Factor Authentication in their account settings.