Schedules
In Schedules, you can add, edit, and delete schedules.
Schedules enable you to automate tasks, like arming and disarming your system and activating favorites. You can schedule tasks to start and end at specific times, or you can sync schedules with the sunrise and sunset. In a sunset or sunrise schedule, you can offset the tasks to occur up to an hour before or after the sunset or sunrise.
Know Your Schedule Type
If you see Arming (pictured below), your system offers Single Task Schedules.
.png?inst-v=a797a67a-99e2-40bf-9d7e-e291f08c610a)
If you see Holiday Dates and Area Settings (pictured below), your system offers Multi-Task Schedules.
.png?inst-v=a797a67a-99e2-40bf-9d7e-e291f08c610a)
Single Task Schedules
Single Task Schedules automate one task per schedule. To automatically arm and disarm, create an Arming Schedule. To automate the activation of favorites, create a Favorite Schedule. To automatically activate and deactivate outputs, create an Output Schedule.
Arming Schedules
Arming Schedules automatically arm and disarm your system and are labeled ![]() Arming.
Arming.
Create an Arming Schedule
Arming Schedules are added to Virtual Keypad by your security provider when your system is installed. You can set the auto-arm and auto-disarm times by editing the schedule.
Edit an Arming Schedule
Go to Schedules.
Select
 Arming.
Select the days you want the system to auto-arm and auto-disarm.
Enter the time you want the system to auto-arm and auto-disarm.
Enable the areas you want to auto-arm and auto-disarm.
Enable Closing Check (optional).
Select Save.
Delete an Arming Schedule
Arming Schedules cannot be deleted. If you do not want your system to auto-arm or auto-disarm:
Go to Schedules.
Select
 Arming.
 Delete the times in Disarm and Arm by selecting the X next to the time.
Disable Disarm and Arm next to all areas.
Select Save.
Favorite Schedules
Favorite Schedules automatically activate favorites. You can create one schedule for each favorite, and you can have up to 20 favorite schedules.
Once a favorite is activated, the devices stay in their configured condition until another favorite is activated or the devices are changed manually. For example, if you activate a favorite that turns a light on, the light stays on until you activate a favorite that turns the light off or you manually turn the light off.
Create a Favorite Schedule for XT30/XT50 Control Panels
.png?inst-v=a797a67a-99e2-40bf-9d7e-e291f08c610a)
Go to Schedules.
Select the
 Plus icon.*
 Select Favorite Schedule.*
Select the favorite you want to automate from the drop-down menu.
Enter the time you want the favorite to activate.
Select Save.
*If you do not see the ![]() Plus icon or if the Favorite Schedule option does not appear, all your favorites are already included in a schedule or you do not have any favorites.
Plus icon or if the Favorite Schedule option does not appear, all your favorites are already included in a schedule or you do not have any favorites.
Create a Favorite Schedule for XR Series and XT75 Control Panels

Go to Schedules and select the
 Plus icon to create a schedule.
Enter the time you want the favorite to activate.
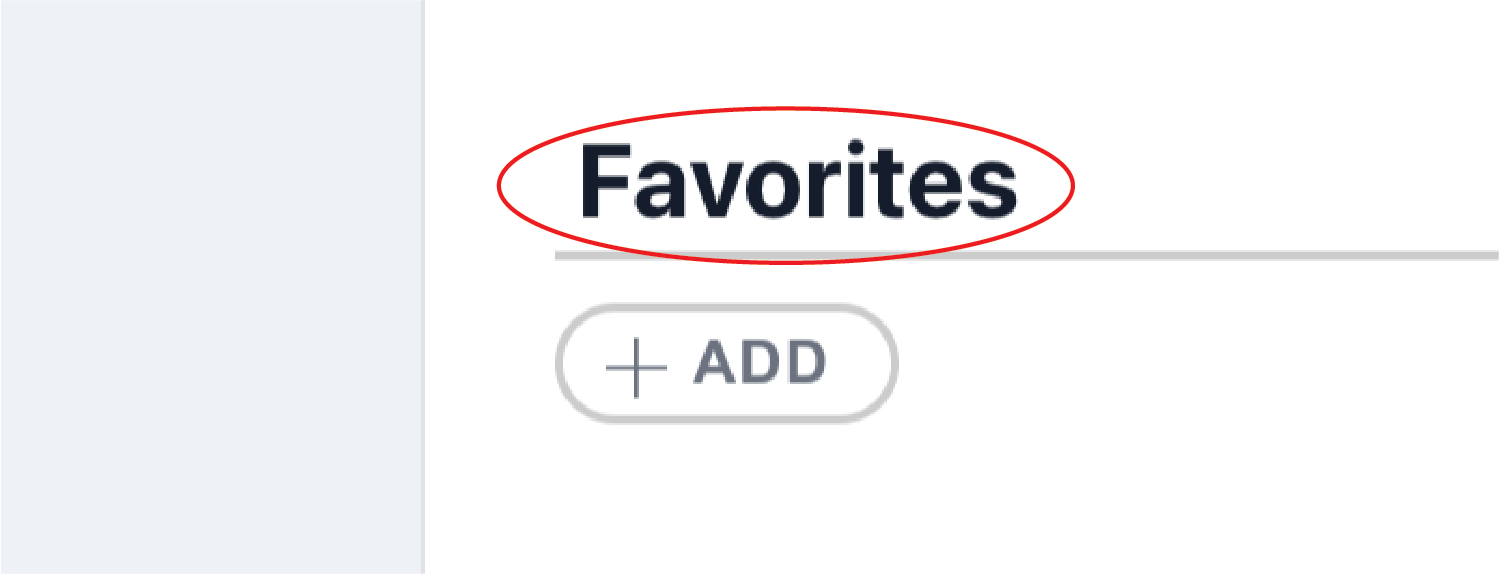
Go to Favorites and select Add.
Select the favorite you want to automate from the drop-down menu.
Select Save.
*If you do not see Add as an option or if there are no Favorites to choose from, all your favorites are already included in a schedule or you do not have any favorites.
Edit a Favorite Schedule
Go to Schedules.
Select the Favorite Schedule or Favorites you want to edit.
Edit the schedule.
Select Save.
Delete a Favorite Schedule
Go to Schedules.
Select the Favorite Schedule or Favorites you want to delete.
Select Delete. A dialog box displays to confirm your decision.
Select Confirm. The schedule is deleted.
Output Schedules
Output Schedules automatically activate and deactivate outputs. You can create one schedule for each output, and you can have up to 20 output schedules.
Create an Output Schedule for XT30/XT50 Control Panels
.png?inst-v=a797a67a-99e2-40bf-9d7e-e291f08c610a)
Go to Schedules.
Select the
 Plus icon.*
Select Output Schedule.*
Select the name of the output you want to automate from the drop-down menu.
Enter the times you want the outputs to activate and deactivate.
Select Save.
*If you do not see the Plus icon or if the Output Schedule option does not appear, all your outputs are already included in a schedule or you do not have any outputs connected to your system.
Create an Output Schedule for XR Series and XT75 Control Panels

Go to Schedules and select the
 Plus icon to create a schedule.
Enter the times you want the outputs to activate and deactivate.
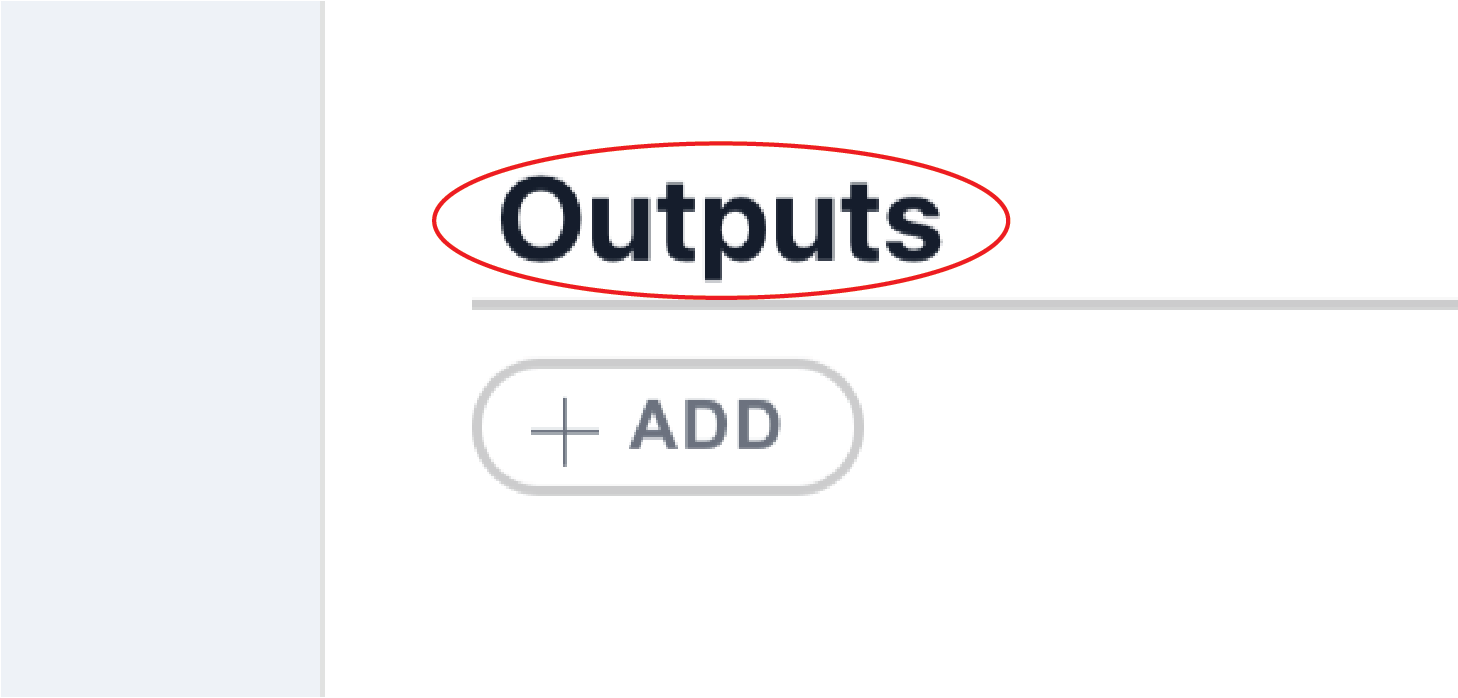
Go to Outputs and select Add.*
Select the name of the output you want to automate from the drop-down menu.
Select Save.
*If you do not see the Plus icon or if there are no Outputs to choose from, all your outputs are already included in a schedule or you do not have any outputs connected to your system.
Edit an Output Schedule
Go to Schedules.
Select the Output Schedule or Outputs you want to edit.
Edit the schedule.
Select Save.
Delete an Output Schedule
Go to Schedules. The screen displays a list of your schedules.
Select the Output Schedule or Outputs you want to delete.
Select Delete. A dialog box displays to confirm your decision.
Select Confirm. The schedule is deleted.
Multi-Task Schedules
Multi-Task Schedules enable you to automate one or more tasks in one schedule. With one Multi-Task Schedule, you can:
Arm and disarm areas.
Lock and unlock doors.
Activate and deactivate outputs.
Activate favorites.
Each schedule has a begin and end time.
Begin is the time the included areas disarm, doors unlock, and outputs and favorites activate.
End is the time the included areas arm, doors lock, and outputs deactivate.
Create a Schedule
Go to Schedules.
Select the
 Plus icon. A new schedule opens.
 Enter a name for the schedule.
Enter a number for the schedule that has not already been assigned to a schedule.
Select Temporary if you want the schedule to occur for a limited time. If selected, enter the dates you want the schedule to start and end.
Select the days you want to include in the schedule.
Set the begin and end times for the schedule.
Set the begin and end times for your Holiday Classes (if applicable).
Select the areas you want to include (if applicable). Ensure the areas you include are enabled in Area Settings.
Select the doors you want to include (if applicable).
Select the outputs you want to include (if applicable).
Select the favorites you want to include (if applicable).
Select Save.
Edit a Schedule
Go to Schedules.
Select the schedule you want to edit.
Edit the schedule.
Select Save.
Delete a Schedule
Go to Schedules.
Select the schedule you want to delete.
Select Delete. A message pops up to confirm your decision.
Select Confirm. The schedule is deleted.
Area Settings
Note: Area Settings apply to all schedules on a system. Changes made to an area in Area Settings affect all schedules that include the area.
Area Settings enable you to choose which areas can automatically arm and disarm when they are included in a schedule. If you disable automatic arming and disarming for an area in Area Settings, the area will not automatically arm and disarm, even if it is included in a schedule.
To edit Area Settings:
Go to Schedules.
Select Area Settings.
Enable Disarm next to the areas you want to auto-disarm at the scheduled time. Any area that is disabled cannot auto-disarm.
Enable Arm next to the areas you want to auto-arm at the scheduled time. Any area that is disabled cannot auto-arm.
Enable Closing Check (optional).
Select Save.
Holiday Dates
Holiday Dates are exceptions to reoccurring schedules, like closing a store four hours early for one day.
Create a Holiday Date
Go to Schedules.
Select Holiday Dates.
Select + Add Holiday. A new Holiday Date populates at the bottom of the list of Holiday Dates.
Enter a name for the holiday.
Enter the date of the holiday.
Select a class for the holiday. All Holiday Dates in a class have the same begin and end times.
Select the Check Mark icon. The Holiday Date is automatically added to all of your schedules as part of the class. Edit each schedule to change the class’s begin and end time.
Edit Holiday Class Times
Go to Schedules.
Select a schedule. Select the Information icon to see which Holiday Dates are included in each class.
Enter the begin and end time next to the Holiday Class. If you select closed, the areas will stay armed, the doors stay locked, and the outputs stay deactivated until the next non-closed begin time.
Select Save.
Delete a Holiday Date
Go to Schedules.
Select Holiday Dates.
Select the
 Minus icon next to the holiday to delete it. A dialog pops up to confirm your decision.
Select Confirm. The holiday is deleted.
Closing Check
Closing Check verifies that all areas of the system are armed at a scheduled end or arm time. You can enable Closing Check in Single-Task Arming Schedules and Area Settings.
If an area is not armed at the scheduled end or arm time, the system emits an alert at the keypad(s) and in Virtual Keypad. If the system is not armed within ten minutes, a Late to Close report is sent to the monitoring center and areas included in auto-arm schedules will automatically arm.
